Showing posts with label Snacks. Show all posts

Saturday, August 2, 2014

Mexican Biscuit

This is my favorite Mexican pastry. I always have them for breakfast when I go to Mexico. It took a bit of searching but I finally found a recipe for them. Once I did I had to translate it to English, convert the measurements from weights to volumes, then tweak the recipe to perfection. It took some work but I think I have perfected it. I hope you enjoy them as much as I do :)


What You Need
Make 32 Biscuits (depending on size)

5 tbsp Warm Milk
1 1/2 tsp Active Dry Yeast
1/4 cup Sugar
1 3/4 cup Flour
2 1/4 tsp Baking Powder
1/3 cup + 1 tsp Shortening
3 tbsp Butter
1 tsp Vanilla
2 Eggs


What To Do

Step 1: Place the warm milk, yeast and sugar in a small bowl. Let set for 5-10 mins until it starts to bubble.


Step 2: Place the flour and baking powder in the bowl of your stand mixer (you can also mix by hand if you don't have a stand mixer). Add the milk, yeast and sugar to the flour and baking powder. Then add the butter and shortening. Mix together until it becomes a sandy mixture. Then add 1 egg, salt, and vanilla until everything comes together.


Step 3: Once mixed, kneed the dough. You can do this by hand for about 5 minutes or in the mixer (using the dough hook attachment) for about 3 minutes. I do it in my mixer. This is a little harder to do by hand because the dough has a lot of fat in it. It tends to stick more then other doughs.


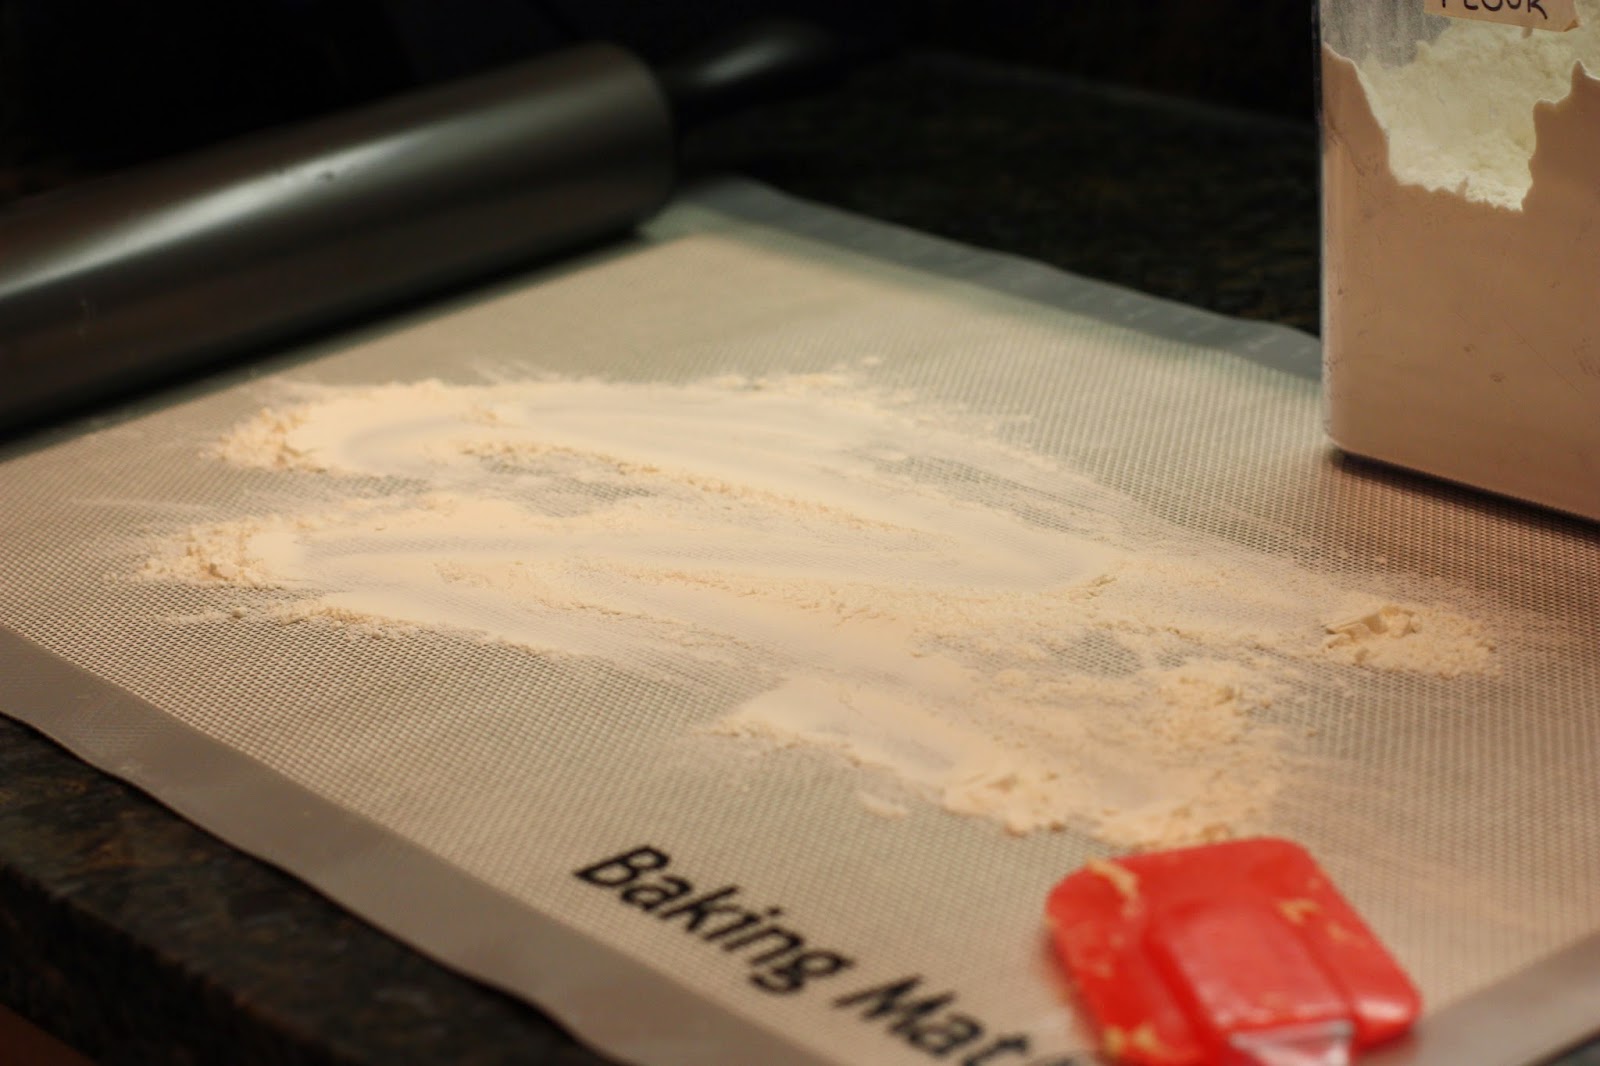
Step 4: Sprinkle your surface with flour. Be a bit generous since the dough is extra sticky. Roll out the dough to about 1/4-1/3 inch thick.


 Step 5: Using a cookie cutter (or if you don't have one a jar) cut circles out. Keep re-balling up the dough, rolling it out and cutting more circles until you have used up all the dough.


Step 6: Place all the biscuits on baking sheets lined with parchment papers. Then make a circle in the middle of each biscuits. I use a frosting tip to do this. Make sure to make an indent and not go all the way through the dough.


 Step 7: Brush biscuits with egg. Let rise until the biscuits have doubled in size, about 45 mins.


Step 8: Bake at 400°F for 10 minutes or until golden brown. Place on a baking tray to cool. Enjoy!
 

Tuesday, July 15, 2014

Kale Chips

Kale chips are a healthy, tasty snack and a great alternative to potato chips!


What You Need


1 bunch Kale (the fresher the better)
2 tbsp Olive Oil
1 1/2 tsp of salt


 What To Do

Step 1: Wash kale under cool water. Pat with a towel or spin in a salad spinner to remove as much moisture as possible.

Step 2: Cut kale into 1 inch strips. If the vein is thick, cut off the edge or if you prefer de-vein the kale.

 
Step 3: Toss with the olive oil and salt.


Step 4:  Lay kale out on a baking sheet (I usually need 2). Make sure the kale pieces are not touching each other. It doesn't need to be perfect though, if some pieces are touching it will still turn out tasty!


Step 5: Bake at 325°F for 10-15 minutes or until the kale is dried out. You want to watch it, it will get bitter if over cooked.  Enjoy!


Sunday, December 1, 2013

Quick and Tasty Homemade Green Salsa

I generally don't like salsa but I love this one!  It's a twist on a recipe a friend taught me. I make it mild but you can always add more jalapenos or a habanero to spice it up! 


What You Need

5 Tomatillos
3 Garlic Cloves
2 Serrano Peppers
2 Jalapeno Peppers
1/2 of a bunch of Cilantro
1 tbsp Lime Juice
Pinch of Salt


What To Do

Step 1: Cut the tomatillos and peppers in half. Remove the seeds and veins from the peppers. Place face down on a baking sheet with the garlic cloves. 


Step 2:  Place in oven on Broil for 5-10 minutes or until brown and softened (see picture below).


Step 3: Place all the ingredients in a blender or food processor. Blend until liquefied. Add extra salt and cilantro to taste. Enjoy!

Friday, September 20, 2013

Baked Homemade Potato Chips

These are quick, easy, and healthy! It is a great use for those last few potatoes in the bag or ones that are about to go bad. 

What You Need
Makes 2 servings

2 potatoes
Season All
Olive Oil


What To Do

Step 1: Preheat oven to 325°F. Peel potatoes. Slice potatoes very thin (about 1/16 of an inch). I highly suggest using a mandolin. It will go much quicker. If you don't have a mandolin you can always use a knife. 


Step 2: Place all the potato slices in a bowl. Drizzle a little olive oil them, then sprinkle with season all. Mix well. Repeat 3 times or until all chips are lightly coated.


Step 3: Lay out potato slices on a baking sheet. Make sure they don't touch. Sprinkle on more season all if needed.


Step 4: Bake for 20-30 minutes or until golden brown. Watch them carefully! Once the liquid has cooked out of the potatoes they can burn quickly!


Step 5: Enjoy!


Thursday, August 29, 2013

Homemade Flour Tortillas

We go through a lot of tortillas at my house. I hated needing them for dinner, not having them on hand, going to the grocery store to get more and finding them not on sale. I figured there had to be an easy way to make tortillas at home. I found this recipe and tweaked it a little to work better for me. They are super tasty and easy to make!

What You Need
Makes 12-14 tortillas

3 cups Flour
1 cup Hot Water
1/4 cup Vegetable Oil
2 tsp Salt
2 tsp Garlic Powder


What To Do

Step 1: Combine all dry ingredients into your mixer. Add the oil, then slowly add the hot water. Mix until thoroughly combined.


Step 2: Flour the surface you are going to be rolling your dough on. Make a 2 inch ball out of the dough. Gently flatted the ball with you hand. Roll the dough until it is 1/4 inch thick and 6-8 inches wide. Repeat until all of the dough has been used. *You can cook the tortillas as you go or place them on Saran Wrap, alternating between Saran Wrap and precooked tortillas. I generally will cook them as I go but end up rolling them out faster then they cook. So I end up having a backlog in Saran Wrap.


Step 3: Cook the tortillas on Medium heat until browned on both sides. Store in a tortilla warmer until you are ready to serve them. Enjoy! *Tortillas will be good in the fridge for about 5-7 days or go to Step 4 for a bonus recipe!


Step 4: Use your leftover tortillas to make tortilla chips. Preheat over to 350°. Cut tortillas into triangle pieces (about 8 per tortilla)Place on a baking sheet, making sure they do not touch. Salt if desired. Bake for about 10 minutes or until slightly browned. Enjoy! *They are also great as an alternative to pita chips! I enjoy mine with humus.


Wednesday, August 14, 2013

Homemade Crock-Pot Yogurt

I was looking into buying a yogurt maker when I came across this recipe  I never knew I could make yogurt in my crock-pot! My crock-pot has been sitting in the cupboard collecting dust for years and now I use it once a week.


Homemade yogurt is easy to make, has no added ingredients, tastes delicious and cuts the price of yogurt to at least half! This recipe yields about 2 quarts of regular yogurt or just over 1 quart of Greek yogurt. The only cost is for the half a gallon of milk (I use half of a gallon) and the initial 1/2 cup of yogurt for your starter. After you have made your first batch of homemade yogurt you can use that for your starter from there on out. So lets do the math:

$5.99 for 2 quart of Store Bought Plain All Natural Yogurt or 1 quart Greek Yogurt
$1.60 for 2 quarts of Homemade Yogurt or 1 quart Greek Yogurt (the cost of the milk)
$4.39 in Savings! That's 75% less then buying it at the store!

Ok, lets get to how to actually make the yogurt. It takes about 12 hours but only about 10 mins of your time. I start it when I get home for work. By the time I go to bed it is ready to incubate. I let it incubate overnights and in the morning I have yogurt!


What You Need
Yields 2 quarts regular yogurt or 1 quart Greek yogurt

1/2 gallon or 8 cups of Milk (I use fat free or 1% but you can use whatever you like)
1/2 cup of Natural Plain Yogurt with Live and Active Cultures (this can be regular or Greek yogurt)
Crock-pot
Towel
Thermometer that reads down to 120° and up to 180°

Additional for Greek Yogurt
Coffee Filters or Cheesecloth
Strainer
Mixing Bowl


What To Do

Step 1: Put the milk in the crock-pot. If your crock-pot has a thermometer, connect the thermometer, set it on low and set the temperature to 180°. If you don't have a crock-pot with a thermometer just set your crock-pot on low and set a timer for 3.5 hours.


Step 2: After about 3-3.5 hrs the milk should reach 180°. If your crock-pot doesn't have a thermometer open the crock-pot and check the temperature. If it is not at 180° close the lid and let it sit for a bit longer and check again. The milk needs to get to 180° to denature the protein. When the milk reaches 180° crack the lid open and let it cool to 120°. This should take about 1-1.5 hours. Check frequently, you don't want it to get below 120°.

Step 3: Once the temperature gets to 120° remove the skim off the top of the milk. Then remove 1 cup of hot milk, stir in the 1/2 cup yogurt and mix together. Pour the mixture back into the crock-pot, give it a good stir and put the top back on.


Step 4: Wrap the crock-pot in a beach or bath towel. Place the crock-pot in the oven (turned off) for about 8-10 hours. *You don't have to put it in the oven but it gives it an extra insulation to help regulate the temperature. The goal here to maintain the temperature as long as possible so the cultures can incubate.


Step 5: Open after 8-10 hours and you have yogurt! It will be a bit runny and may have whey floating on top. Place it in the fridge to chill and firm up. Enjoy or go to Step 6 to learn how to make Greek yogurt. *The yogurt is good for about 10 days in the fridge. Don't forget to save 1/2 a cup to use as a starter for the next batch!


 Step 6: To make Greek yogurt place the strainer on top of the bowl, place 1-2 coffee filters over the strainer covering the holes of the strainer, then fill with yogurt. Let it sit in the fridge for at least 2 hours. The longer you let it strain the  thicker and creamier it will get. Once you have your desired thickness remove the yogurt from the strainer, place in a sealed container and enjoy!