Monday, December 18, 2017

Upcycled Vanity

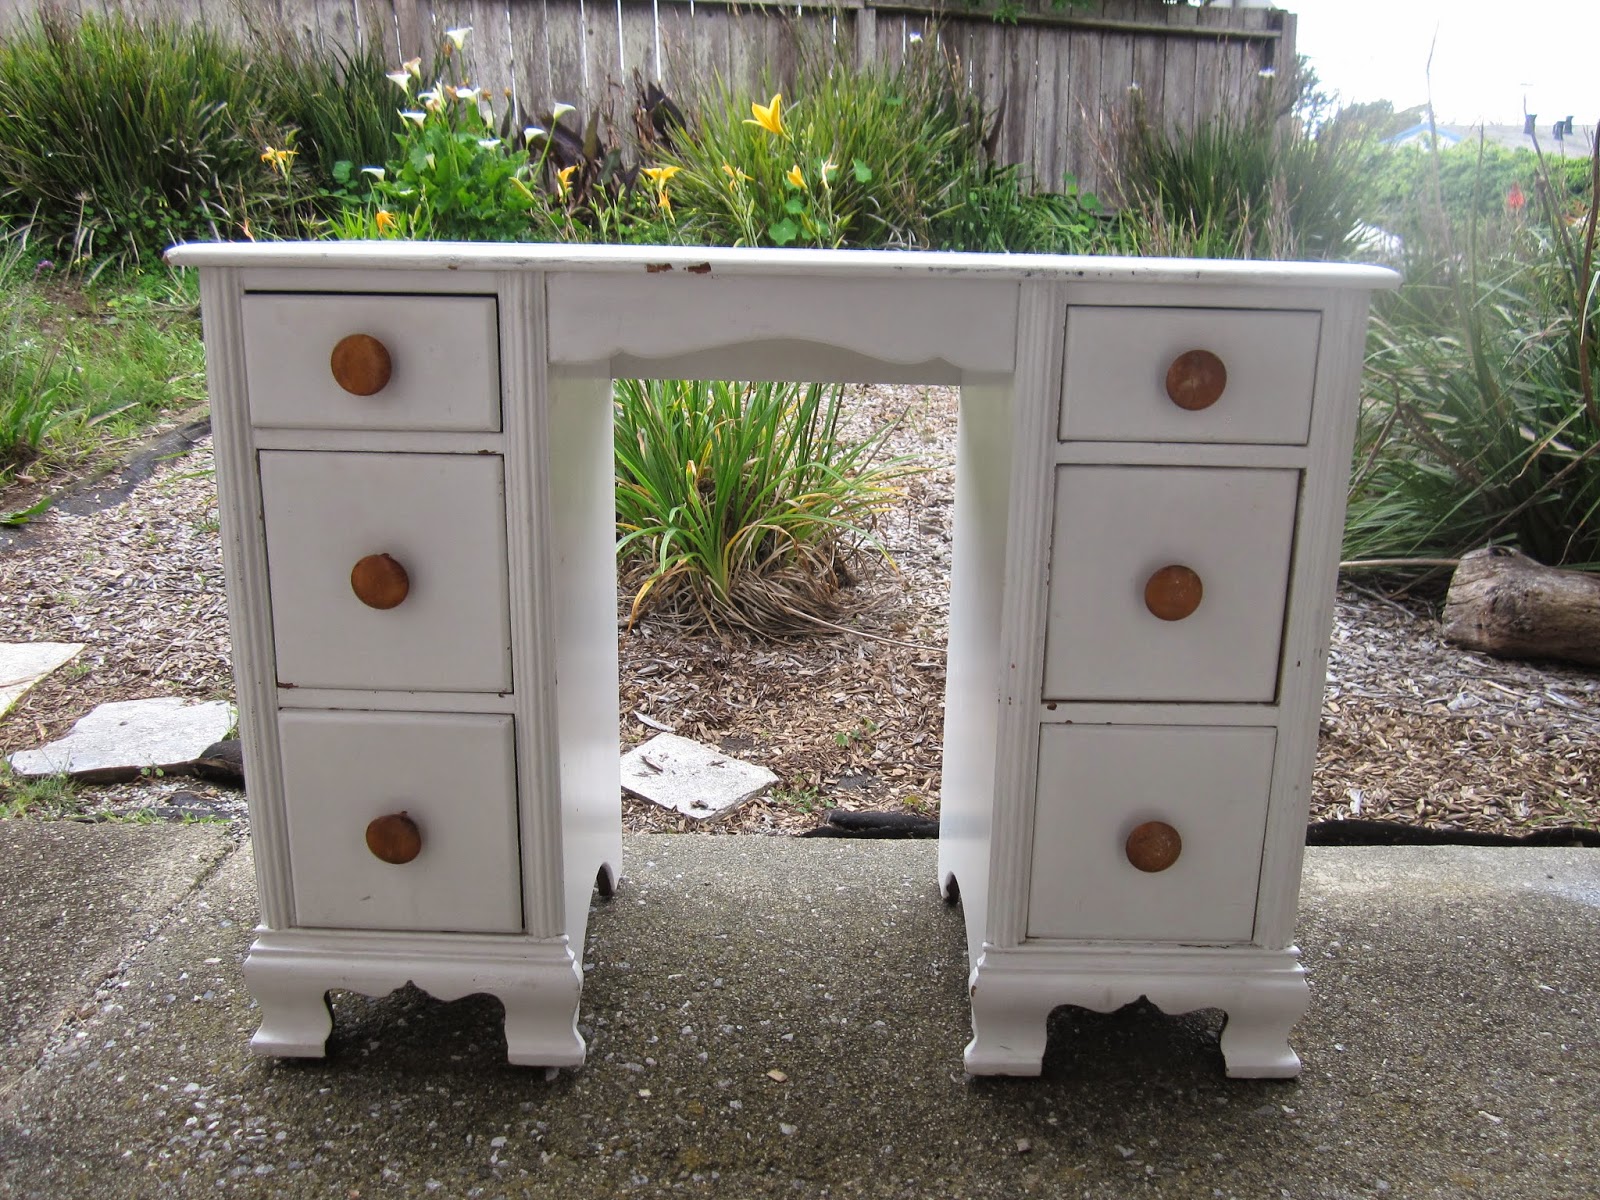
My sister in-law found this kids size vanity on Craigslist for $25. It was in fairly good condition but needed a bit of a facelift. We sanded it, painted it and added new hardware. We used old paint from a previous project and got the hardware at Goodwill for a $3. For just under $30 and a little hard work we ended up with a nice "new" vanity!


Sunday, August 3, 2014

Best Homemade Pizza Dough

I use to always buy the pre-made pizza dough. I had several people tell me how easy it was to make pizza dough. Once I started working with yeast and making bread I finally decided I should try it. It really is very easy to make at home. You can make it whenever you feel like pizza and don't have to worry about running to the store to get dough.


What You Need
Makes one 14 inch pizza

1 ¼ tsp Dry and Active Yeast
1 ½ tsp Honey
¾ cup Warm Water
2 cups Flour
½ tsp Sea Salt
1 tbsp Olive Oil


What To Do

Step 1: In a medium bowl gently mix the warm water, yeast and honey. Let set for 5-10 minutes until dissolved and starting to bubble.
 

Step 2: In your mixer bowl add flour, salt and olive oil. Add the yeast/water/honey mixture. Mix until the dough comes together. Add a little more flour if the dough is too wet and add a little more water is ehe dough is too dry.

Step 3: Knead dough on a lightly floured surface for 5 mins or let you Kitchen-aid knead the dough for 3 mins (I do this step by hand).


Step 4: Place dough in a lightly oiled bowl. Spray the top of the dough with a little oil. Cover with plastic wrap. Let sit for 45 mins or until double in size.
 

Step 5: Punch the dough to remove the air. On a lightly floured surface  roll out dough into circle (roughly 14 inches in diameter).


Step 6: Transfer pizza crust onto a floured baking sheet. Cover with a light coat of olive oil and let rise again for about 20 mins.

Step 7: Top with your favorite toppings. Bake at 400°F for 10-15 mins. Enjoy!


Saturday, August 2, 2014

Mexican Biscuit

This is my favorite Mexican pastry. I always have them for breakfast when I go to Mexico. It took a bit of searching but I finally found a recipe for them. Once I did I had to translate it to English, convert the measurements from weights to volumes, then tweak the recipe to perfection. It took some work but I think I have perfected it. I hope you enjoy them as much as I do :)


What You Need
Make 32 Biscuits (depending on size)

5 tbsp Warm Milk
1 1/2 tsp Active Dry Yeast
1/4 cup Sugar
1 3/4 cup Flour
2 1/4 tsp Baking Powder
1/3 cup + 1 tsp Shortening
3 tbsp Butter
1 tsp Vanilla
2 Eggs


What To Do

Step 1: Place the warm milk, yeast and sugar in a small bowl. Let set for 5-10 mins until it starts to bubble.


Step 2: Place the flour and baking powder in the bowl of your stand mixer (you can also mix by hand if you don't have a stand mixer). Add the milk, yeast and sugar to the flour and baking powder. Then add the butter and shortening. Mix together until it becomes a sandy mixture. Then add 1 egg, salt, and vanilla until everything comes together.


Step 3: Once mixed, kneed the dough. You can do this by hand for about 5 minutes or in the mixer (using the dough hook attachment) for about 3 minutes. I do it in my mixer. This is a little harder to do by hand because the dough has a lot of fat in it. It tends to stick more then other doughs.


Step 4: Sprinkle your surface with flour. Be a bit generous since the dough is extra sticky. Roll out the dough to about 1/4-1/3 inch thick.


 Step 5: Using a cookie cutter (or if you don't have one a jar) cut circles out. Keep re-balling up the dough, rolling it out and cutting more circles until you have used up all the dough.


Step 6: Place all the biscuits on baking sheets lined with parchment papers. Then make a circle in the middle of each biscuits. I use a frosting tip to do this. Make sure to make an indent and not go all the way through the dough.


 Step 7: Brush biscuits with egg. Let rise until the biscuits have doubled in size, about 45 mins.


Step 8: Bake at 400°F for 10 minutes or until golden brown. Place on a baking tray to cool. Enjoy!
 

Tuesday, July 15, 2014

Homemade Pot Stickers

I found pot sticker wrappers at the Asian market and had to try making them fresh at home. They are delicious but are very time consuming (you can save some time by buying shredded carrots and cabbage). On the plus side the wrappers come in packs of 40-50 so there are plenty of leftover and they are freezable! For a family of 2 you can get at least 3-4 dinners our of the recipe. Make sure you use fresh turkey so you don't freeze it twice. The meat will be too touch after being frozen the second time.


What You Need

1 package Fresh Pot Sticker Wrappers
1/2 head of Cabbage (Shredded)
3 Carrots (Shredded)
3/4 lb Fresh Turkey (Not Frozen)
6 Mushrooms
2 Egg Yolks
1 1/2 tsp Ginger
1 tsp Chinese 5 Spice
Oil

Sauce
1/2 cup Soy Sauce
2 tbsp Hoisin Sauce
1/2 tsp Sesame Seeds
2 Green Onions


What To Do

Step 1: Shred cabbage and carrots. I use a mandolin for the cabbage and a cheese grader for the carrots. Chop the mushroom into small pieces. Mix together.


Step 2: Cook turkey on medium heat until well done. Add turkey to veggie mixture. Add and mix in Chinese 5 spice and fresh ginger.*I use a grater/zester to add the ginger and guesstimate roughly 1 1/2 tsp.


Step 3: Place the egg yolks into a small bowl. Brush 1/2 of the outside edge of the wrappers with the egg yolk. I use the back of a spoon but you could also use a pasty brush. I like to lay out several wrappers at once to make things go a bit faster.


Step 4: Place 1-1.5 tbsp of filling into each wrapper. It is better to under-fill rather then over-
fill. *If you have extra filling you can serve it as a side salad with the pot stickers.


Step 5: Ok here is where things get tricky. Fold over the wrapper and crimp the edges. Be firm so they stick together. Let them sit for a few minutes before cooking them. I usually fill all the wrappers, then cook the wrappers I stuffed first. As they sit the egg yolk will dry and keep the wrappers close.


Step 6: Fill the pot with a 1/4-1/2 inch of oil. Heat oil on medium to high heat. Once the oil it hot add pot stickers (only the ones you will eat tonight). Don't let them touch or they will get stuck together while cooking. Brown on both sides, remove, then place on a paper towel to remove access oil.


Step 7: Mix soy sauce, hoisin sauce, sesame seeds and chopped green onion in a small bowl. Give it a quick stir.


Step 8: Enjoy! (see step 9 for freezing leftovers)


Step 9: Lay leftover on a piece (or several pieces) of Cling Wrap. Place another piece of Cling Wrap on top and seal. Place in freezer bag and store for 1-2 months.
Kale Chips

Kale chips are a healthy, tasty snack and a great alternative to potato chips!


What You Need


1 bunch Kale (the fresher the better)
2 tbsp Olive Oil
1 1/2 tsp of salt


 What To Do

Step 1: Wash kale under cool water. Pat with a towel or spin in a salad spinner to remove as much moisture as possible.

Step 2: Cut kale into 1 inch strips. If the vein is thick, cut off the edge or if you prefer de-vein the kale.

 
Step 3: Toss with the olive oil and salt.


Step 4:  Lay kale out on a baking sheet (I usually need 2). Make sure the kale pieces are not touching each other. It doesn't need to be perfect though, if some pieces are touching it will still turn out tasty!


Step 5: Bake at 325°F for 10-15 minutes or until the kale is dried out. You want to watch it, it will get bitter if over cooked.  Enjoy!


Sunday, April 20, 2014

Sausage and Brussel Sprouts Pasta

Quick, easy and healthy!


What You Need
Makes 4 servings

4 servings of Pasta (whichever kind you prefer)
3 chicken sausage
1/2 lb Brussels Sprouts
1/4 cup Pesto


What To Do

Step 1: Bring a pot of water to a boil. Add pasta. Cook until al dente.

Step 2: Cut up sausage into 1/4-1/2 inch slices. Cut Brussels sprouts in half.

Step 3: Cook sausage and Brussels sprouts until golden brown.

Step 4: Mix pasta, sausage, Brussels spouts and pesto together. Enjoy!


Easter Sugar Cookies


What You Need
Yields 3 dozen cookies

Ethel's Sugar Cookies 
2 1/2 cups Flour
1 cup Sugar
3/4 cup Margarine
2 eggs
1 tsp Vanilla
1 tsp Baking Powder

Royal Icing
4 cups Powdered Sugar
3 tbsp Meringue Powder
6-8 tbsp water


What To Do

Step 1: For the cookies: mix sugar, egg and margarine together until well blended. Add vanilla and baking powder. Add flour in at 1/2 cup increments until all the flour has been added. Store in the fridge for at least an hour (I prefer overnight).

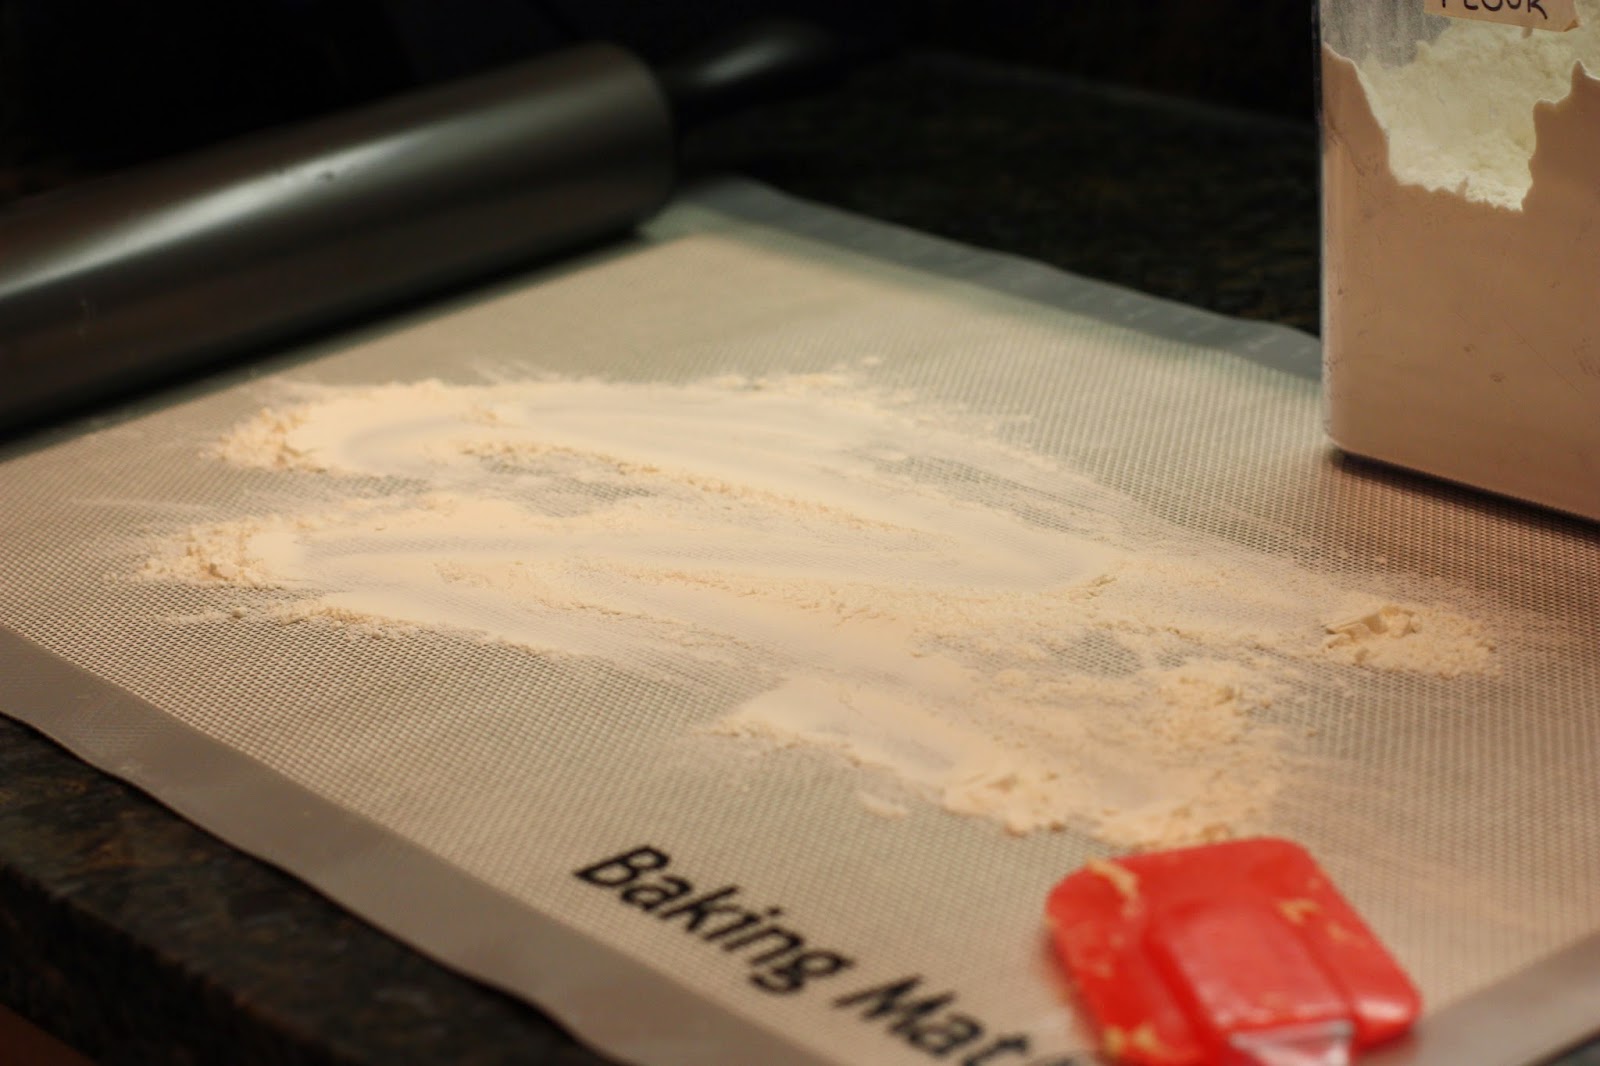
Step 4: Preheat over to 400°. Roll out dough on to well floured surface (I use a pasty or baking mat). Use the cookie cutters of your choice and place cut cookies onto a nonstick cookie sheet. Give at least an inch between each cookie.

Step 5: Bake for 6-8 mins. Let cool on a cooling rack before icing.

Step 6: To make the icing: mix meringue powder and powdered sugar on low until mixed well. Add water, one tablespoon at a time, until you reach your desired consistency. You don't want it to be too watery or too thick. The frosting starts to dry/harden fairly quickly. You can add more water later to thin it out.

Step 7: Frost your cookies. You can use a knife to frost large areas. For designs and detail use a frosting/pastry bag and piping tip. When complete Enjoy!